
I love living in Toronto. It’s a city full of diversity and
multiple cultures: China town, Korean town, little Italy, Greek area, you name
it. Chinese immigrants, or Cantonese to be specific, take a huge portion of the
population in Toronto. That is because Hong Kong used to be colonized by
British government and Canada being under the same system of British Commonwealth
before, it is where Hongkongese chose to travel or live. Ever since 1997 that
Chinese government took over the regime of Hong Kong from the British
government, a larger number of Hongkongese immigrated in Canada perhaps due to
the uncertainty towards the new system. Immigrants bring their culture here,
traditions, language, especially food. When I just arrived in Toronto in 2009,
I was nothing but astonished to learn that I can pretty much find all kinds of
traditional Chinese stuff here! I’ve had authentic Chinese food in some small
restaurants here, found special spice in the Chinese supermarket, bought
ingredients that I would never imagine to see out of China, and this time got a
moon cake pressing mold so that I can make moon cakes for the Mid-Autumn
Festival. Ah, how can I not enjoy living here?
ABOUT MID-AUTUMN FESTIVAL
There are quite a few of stories about the origination of this
festival, some are about a love story, some are based on real historical events. I am
not sure which one is the right one, only knowing that the festival falls on
the fifteenth day of August on a lunar calendar. It is said the moon is the
biggest and roundest that night and family always gather together having dinner
and watching the moon while having moon cake.
ABOUT MOON CAKE
Just like the name, it’s a dessert that brings your
imagination of the moon.
There are
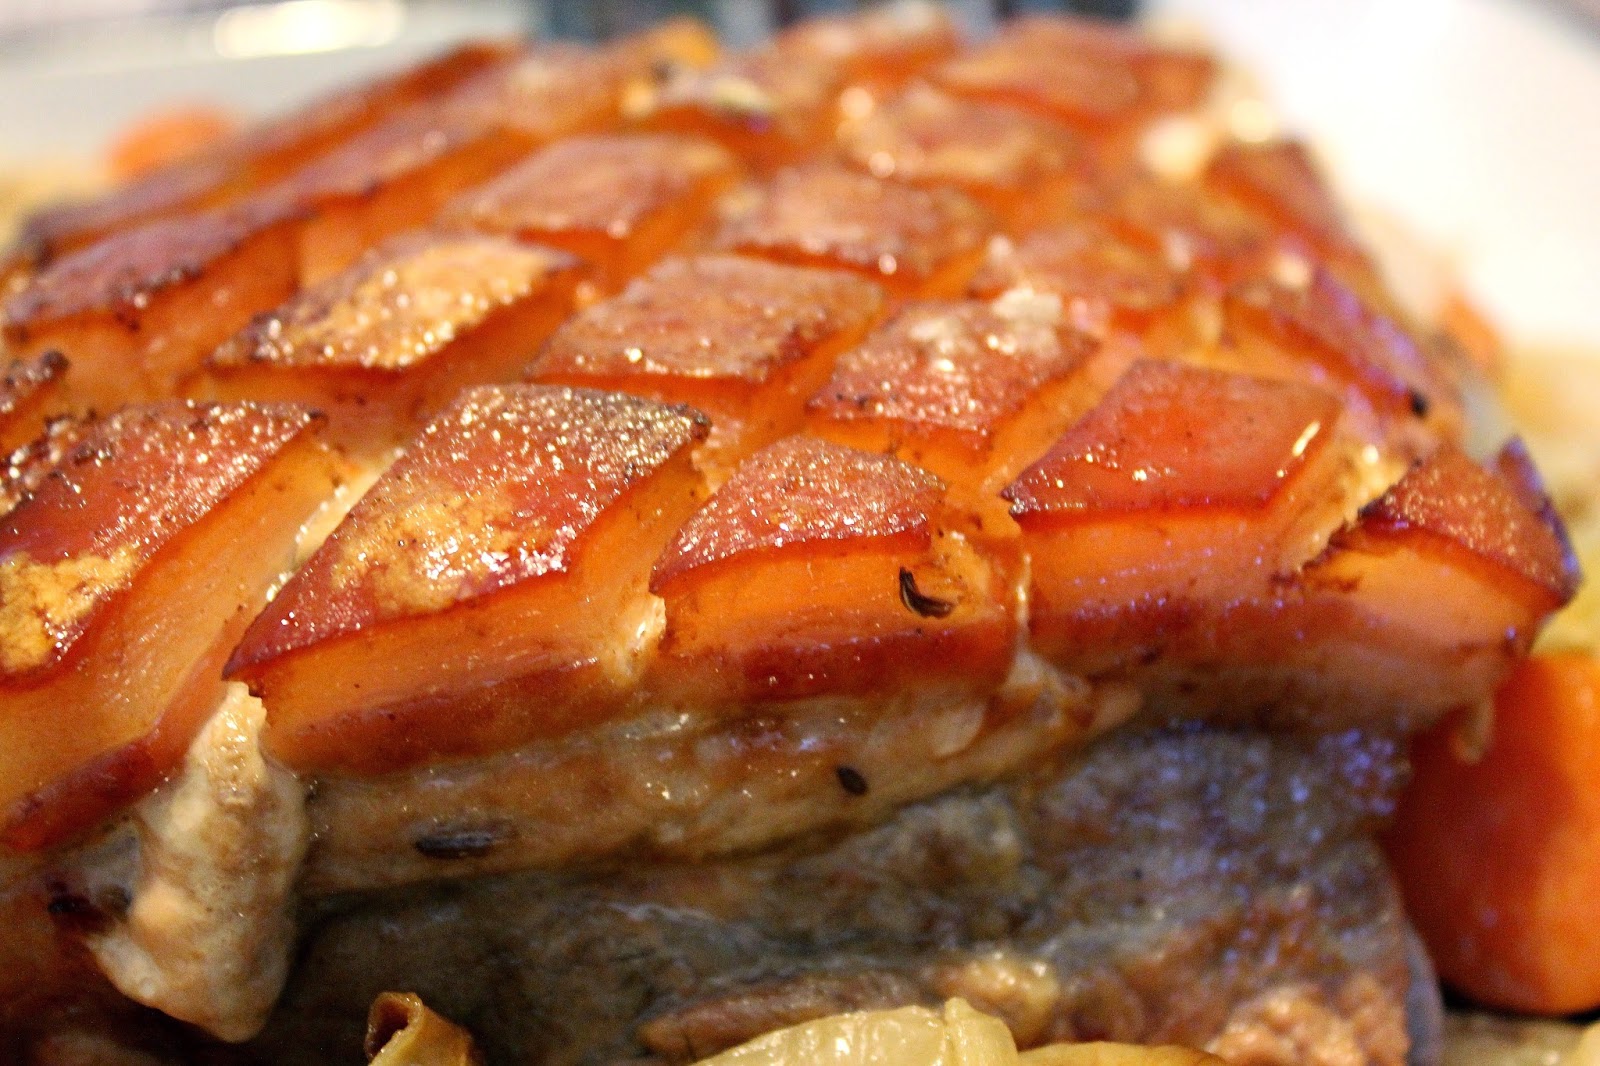
different types of moon cakes on the market. The Cantonese style, the most
traditional one, is a baked cake stuffed with rich fillings, such as red bean
paste, lotus paste, or kennel mixtures. It’s usually in round shape and sometimes
has a salted egg yolk in the middle of the filling to represent the moon.
A nice pattern with Chinese characters is
pressed on the skin, bringing best wishes.
The Suzhou style is a baked puff pastry
stuffed with minced pork or red bean paste. It’s much smaller in size and has a
red stamp on the crust indicating the flavor.
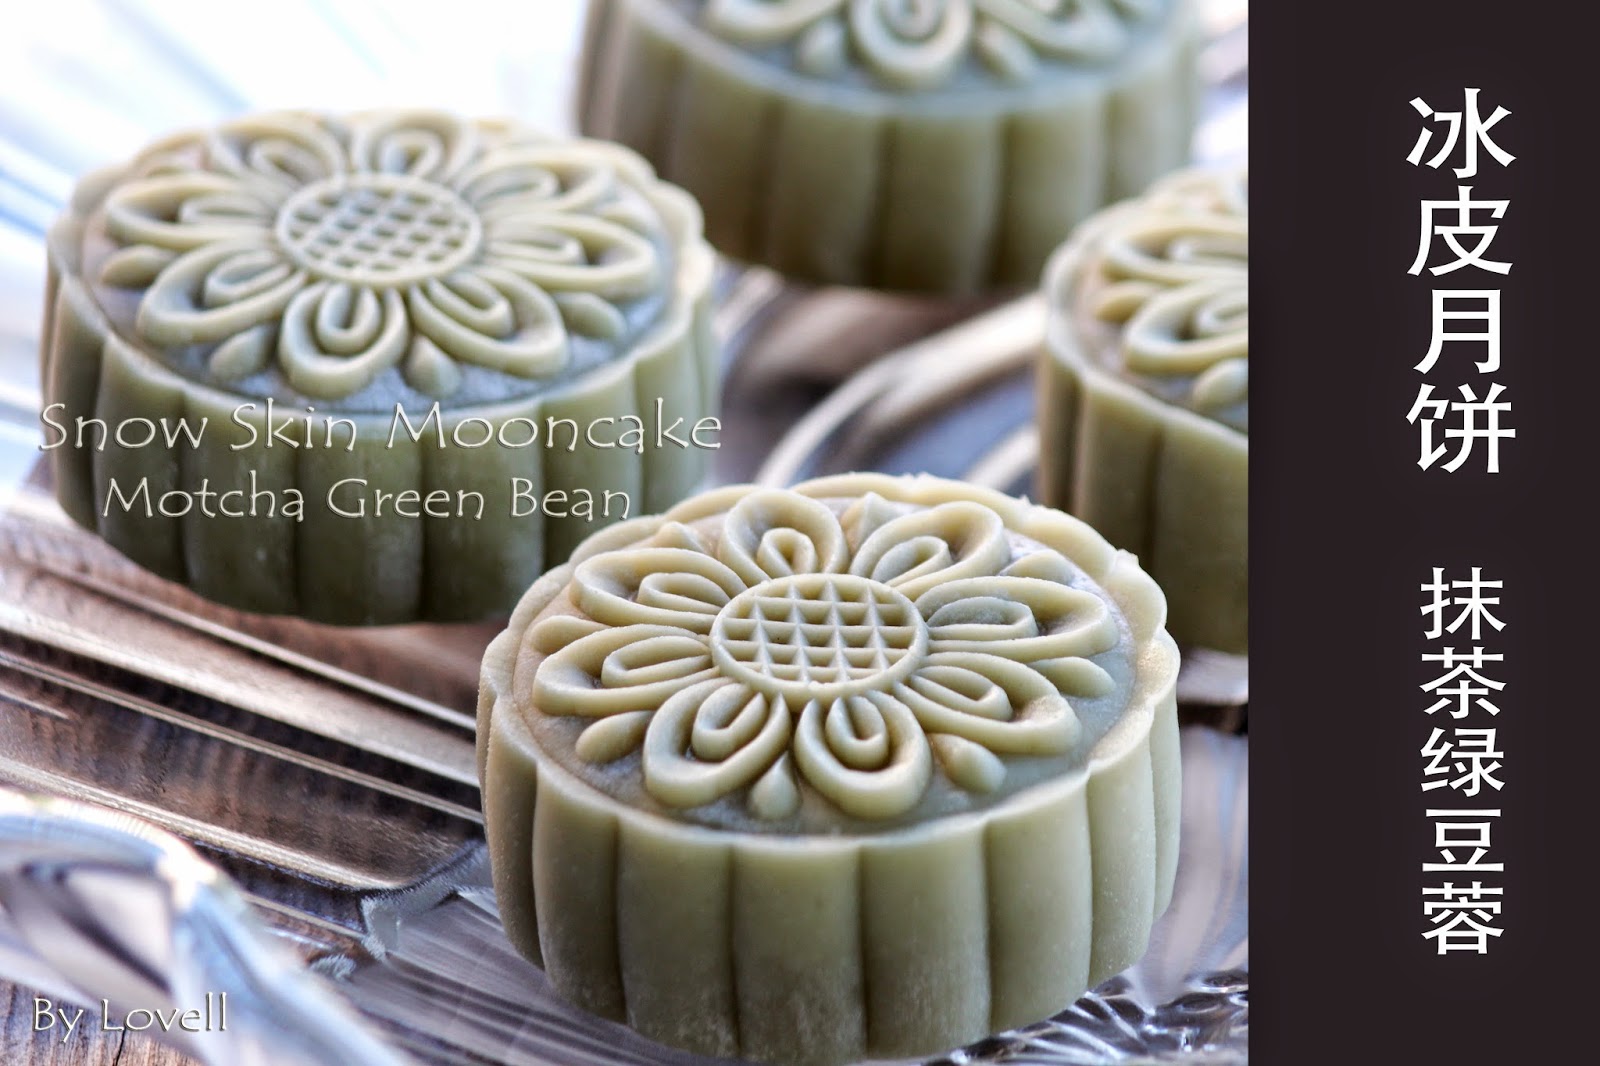
The Snow Skin moon cake, a contemporary style,
is a non-baked chilled cake with glutinous rice crust stuffed with diversified
fillings made of pretty much anything that can be made into a paste, from
traditional red bean to taro paste and pineapple, or even cream cheese and
ice-cream.
So I tell Chris I’m gonna make moon cakes by myself for this
year’s festival. I’ve searched online to see where I can get the mold. It’s not
a very popular tool since it’s only used for special occasion and usually
people won’t make moon cake at home as the process is a bit time consuming.
Plus there are all kinds of moon cakes available in the store. Why bother?
Well, I love making food by myself and it is always much healthier if you know
what ingredients you put in your food. So here we are, 10:30 on Sunday morning,
at the Chinese shopping mall hunting for a moon cake mold. There’s only one
kitchen ware store that sells the mold and we waited for a while until it
opened, only to find out that there’s one last mold left. Hallelujah!!!
As soon as we got home, I couldn’t wait to start making
them. Four flavors and 14 moon cakes in
total, it took me almost the entire afternoon and the evening. Oh well, that’s
how efficiently things can be done with a rolling around mommy-mommy-hug-me baby.
I bought ready to eat red bean, green bean and chest nut paste from store as I
know I won’t have enough time to make them from scratch. The mocha chocolate
cream cheese flavor was a hit! Chris loves cheese cake and that inspired me of
making this filling. How can it go wrong with cream cheese, coffee and
chocolate? The process was a bit messy as the cream cheese filling started to
melt as soon as it got the temperature of your hands, but it turned out to be
our favorite among all. Chris brought some to work to share with colleagues and
I saved us one more cream cheese flavored as it is just so delicious!
To all, happy Mid-Autumn Festival and enjoy the beautiful
bright moon!
SNOW SKIN (ORIGINAL FLAVOR)
Make 4 moon cakes (125g each)
Ratio of
skin and filling is 3:2
- 50 g glutinous rice flour
- 50 g rice flour
- 30 g wheat flour
- 40 g icing sugar
- 185 g milk
- 20 g vegetable oil
- 50 g cooked glutinous rice flour (for handling)
STEPS:
- In a large pot, bring water to a boil for steaming.
- Mix all the dry ingredients together.
- Mix in milk slowly and keep whisking to get rid of any lumps.
- Add in vegetable oil and mix until well combined.
- Pour the flour mixture to a bowl through a sifter to make sure the
moon cake skin is smooth.
- Cover the bowl with plastic wrap. In this way, the steam will not
get into the mixture.
- Turn the heat to medium and steam for 25 minutes or until the flour
mixture is set.
- Let it cool to the temperature that is okay to handle by hand, knead
the flour mixture to form a smooth dough.
- Add food coloring during the kneading process if needed.
- Wrap the dough with plastic wrap.
- Weigh 75g of the dough and roll it into a ball. Flatten it to make a
round disc, about 1/8 inch thick.
- Weigh 50g of the filling and roll into a ball. Wrap the filling with
the dough. Pinch the top to seal.
- Put a little bit of the cooked glutinous flour all around the ball.
Put the sealed side down on a non-sticky surface. Use the moon cake mold to
press the shape. Gently shake the mold to get the moon cake out.
- Keep the moon cake in the fridge until ready to serve.
MOCHA CHOCOLATE CREAM CHEESE FILLING
- 250 g Philadelphia cream cheese, room temperature
- 4 heap tbsp icing sugar
- 1 tsp coffee beans, finely grind
- 10 ml hot water
- 4 squares (113g) Baker's semi sweetened chocolate
- 20 g unsalted butter
- 30 ml milk
STEPS:
- Dissolve the coffee powder in the water. Let it cool.
- Mix cream cheese, icing sugar, coffee until smooth.
- Mix chocolate, butter and milk in a bowl. Put the bowl on a pot with
simmering water and stir until chocolate is melted and smooth.
- Add chocolate into the cream cheese mixture and whisk until well
mixed.
- Keep the cream cheese filling in the fridge until it firms up.
- Scoop about 50g of the filling and quickly shape it into a ball. Do
not over work on it as it will melt in your hands!
- Put the cream cheese balls in the freezer so that it is easier to
handle during the wrapping process.


.PNG)
